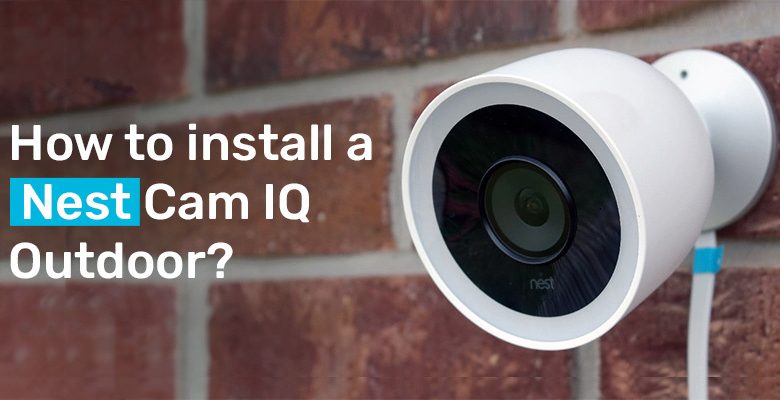
How to install a Nest Cam IQ Outdoor?

The Google Nest Cam offers a unique approach to spotting your surrounding and recording the video while you are away. The Nest cam IQ outdoor installation process can be executed in no time by following the steps given below. In this blog, we will discuss the ways for Nest cam outdoor installation. So gear up and read this. Quick overview of where to begin and some essential tips to help you troubleshoot.
- Before starting you can connect the camera to the app. Scan the QR code given on the camera and link it with the app.
- Get the application.
- You can set up your camera using the Google Home app or the Nest app. But it varies with the model.
Nest Camera Installation
You can do this via two means. Using a Home app or Nest app. Let us discuss each in detail now.
Nest Camera Installation by using the Home app
- Firstly, you need to download the Home app.
- Start the Home application. Use Google account details for doing so.
- Tap to add devices or add service.
- Choose to set up the device.
- Click on the New Device option.
- Now, select the home to which you wish to connect the camera to. Then, tap on the Next button.
- The app will start searching for the devices nearby and it will guide you through the setup process eventually.
Nest Camera Installation Via Nest app
Follow the steps given below if you are new to the Nest app:
- Download the app and create an account.
- On the home screen of the app, Tap on Add.
- Lastly, you can also scan the QR code on the camera’s rear.
Sign up if you already have an account.
- Launch the nest app and choose settings.
- Now, choose Add Product.
- You can scan the QR code located on your camera’s back.
- Include your camera in the Home app following the setup
- After setting up using the Nest application, you can join your Nest camera as a home using The Home application. This allows you to control your camera and other connected devices from the same spot.
Note: If you signed up for the Nest app but did not have to have a Google account, your Nest camera and the other devices included in your Nest home should appear on your home’s Home app.
Nest cam IQ outdoor installation Process
There are different ways to perform Nest cam outdoor installation process. You can run the power cable through a hole outside or inside your home, or you can drill one. Get started with the following instructions:
- Firstly, set up your Nest cam using an app.
- You can also review the safety guidelines for proper installation.
- Remove the Black foam pad, which comes as protection during shipping.
- Leave the lens sticker intact until you’re finished with the installation of Nest Cam. This will shield the lens from dust and smudges.
- Lately, ensure that you comply with all the local regulations while installing, like taking care of all in-wall pipes and electrical wires.
Tools required for installation:
It would be best if you had the camera, wall plate, and a power cable, including the clips, to secure the cable. You need to possess the screws and wall anchors as well.
Finding the location for the camera
Install the camera at a place where the view is good. It shouldn’t be walled too close to any other substance or thing. It should be positioned such that the sun doesn’t shine into the lens. You can install it just above the head height and where the shelter is good.
Check the camera video streaming
- Hold the camera up to where you’d wish to mount the camera.
- Ensure that the wifi connection is strong enough for better camera video.
Plan the path of the cable
If you have an existing opening like an attic vent, you can plan the cable path through that. There is no way to drill a hole for the cable. You can directly Install the camera over the cable hole. Also, measure the cable before you mount the camera.
Installing the Wallplate
Once you are done with the installation, mount the wall plate. Now mount the camera. Plug the end of the power cable using a grey rubber ring in the camera’s base. It will automatically stick into place. You can adjust the view accordingly. Install the cable and at last, remove the sticker pasted on the lens.
Conclusion
The Nest cam IQ outdoor installation process is explained above straightforwardly. Call our team of experts right now if you have any issues or confusion with the setup process.


